Sewing Level: Beginner to Intermediate
I’ve been promising my Craft Schmaft Owl Mobile review for quite a while now…and finally I have a chance to share with you!

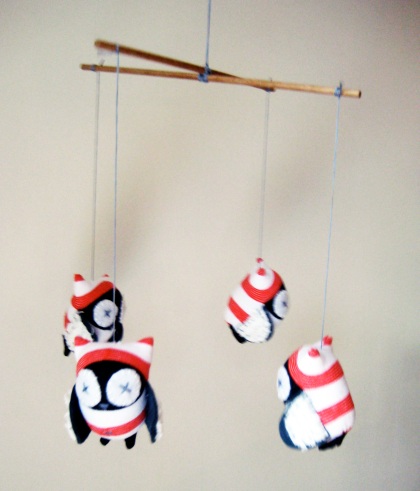
I made this owl mobile last month for a friend of mine who has just had a baby boy – and she LOVES it! (Please excuse my somewhat ‘out of focus’ pics – my little camera doesn’t take very good action shots. This also testifies to the fact that the mobile works brilliantly as these four little owls did not stop moving!)
That leads me to my first point – I LOVED making this sock softie owl mobile. It is such a creative concept, simple to make and very rewarding to see four rather ordinary socks transformed into extraordinary owls.
The instructions are easy to follow – but as I always say – read through all the instructions first before you begin. This way you get a good idea of the owl making process before you get down to the nitty gritty.
This project is all about hand sewing – so if you haven’t sewn by hand before, now is definitely the time to start. And remember – it does take practice to get your stitches neat and even. The hand stitching techniques you’ll need are backstitch, running stitch, overcast stitch, and satin stitch (click on each for the ‘how-to’).
Step by Step Tips:
Step 1:Click here for more instructions on how to do backstitch.
Step 2:
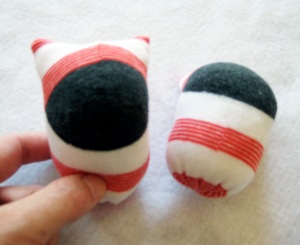
I cut the top and bottom off one sock (as per the instructions), then using this sock as a template, I lay it onto the remaining three socks and cut around them (one at a time).
Step 6:
Before stitching the fabric wings to the felt wings, I placed one set onto the owl to check that the size was okay. Mine were way too big, so I trimmed the set (keeping the wing shape & just trimming in 5mm at a time). I then used this set as a template and cut the other fabric & felt wings to the same size. I used the running stitch to sew the fabric wings to the felt wings, leaving enough embroidery thread to then sew (using overcast stitch) the wings to the owls.
Step 7:
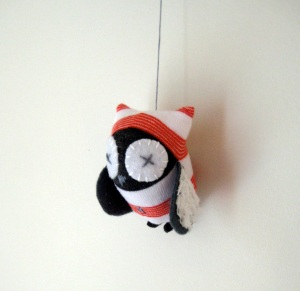
I know I just said it…but I allowed enough embroidery thread from my wing sewing to also be able to stitch the wings onto the owl (to save myself knotting off the thread, then re-threading a new piece of embroidery thread). I hid the beginning knot underneath the wings. Also once I’d sewn the wings to the owl, I finished underneath the wings, tied a knot and then pushed my needle through (still with thread attached) to the bottom of the owl, where I pulled the needle out and trimmed the thread. This way you lose the end of the thread in the owl and don’t need to worry about the knot coming undone.
Step 11:
For your owl’s little beak, you’ll need to use a satin stitch, which is a beautiful stitch (click on the link for some how-to).
The Mobile
For the mobile itself, I used dowel instead of twigs, which I cut down to size. Although it doesn’t have as much character as the twigs, I kinda ran out of time and so I was very happy with the dowel.
To wrap my Craft Schmaft Owl Pattern Review up – I have to say this is a great project, easy to follow, easy to source the materials, and a very satisfying ‘make ya proud’ end result!
Have fun x


